Precision measurement depends entirely on the foundation you build it upon. For anyone working in metrology, that foundation often means a granite surface plate, a piece of equipment that seems simple but demands rigorous care and inspection.
Ignoring even minor issues can lead to wildly inaccurate readings, wasting time and material. This isn’t just about keeping the plate shiny; it’s about maintaining the integrity of every measurement you make.
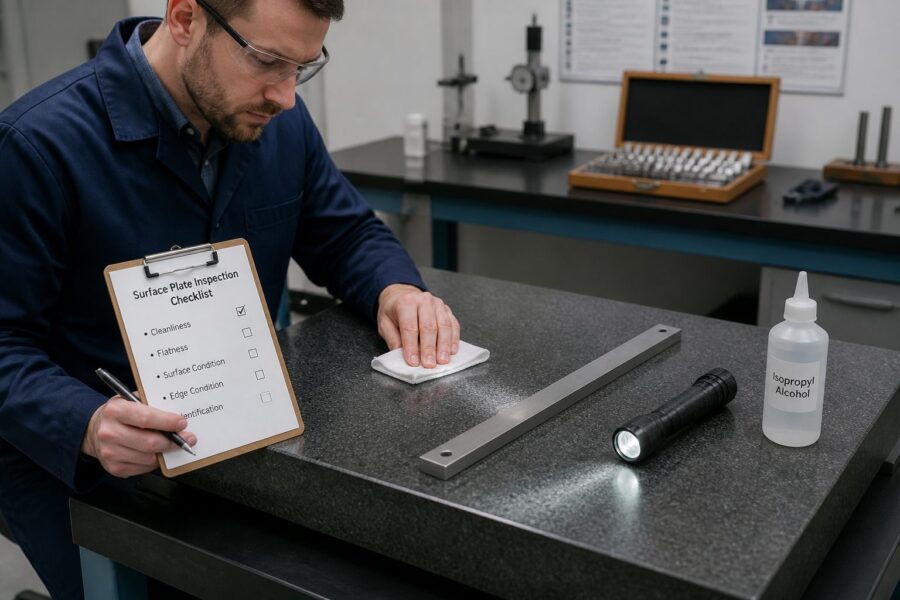
Before you even think about placing a workpiece, running a CMM, or setting up a height gauge, you need a thorough granite surface plate inspection checklist. A few minutes of careful checking will prevent hours of troubleshooting later.
A Quick Visual Scan That Catches Most Problems
Your initial inspection should always start with a comprehensive visual scan of the entire surface. Look for anything out of the ordinary, from obvious gouges to subtle discolorations.
This quick scan often reveals significant surface damage or contamination that would immediately compromise accuracy. Don’t rush this step; your eyes are powerful tools when used deliberately.
Pay close attention to the areas where workpieces are most frequently placed or moved. These high-traffic zones are more prone to wear and tear, making them critical points for inspection.
Even small imperfections, if numerous enough, can create an uneven plane that introduces measurement errors. A good visual inspection sets the stage for more detailed checks, ensuring you don’t miss anything obvious.
Always view the plate from multiple angles and under different lighting conditions. Sometimes, a scratch or a spot of embedded debris only becomes visible when the light catches it just right.
This first pass helps you identify areas that need closer scrutiny, saving you time in the long run. It’s a fundamental part of any effective granite surface plate inspection checklist.
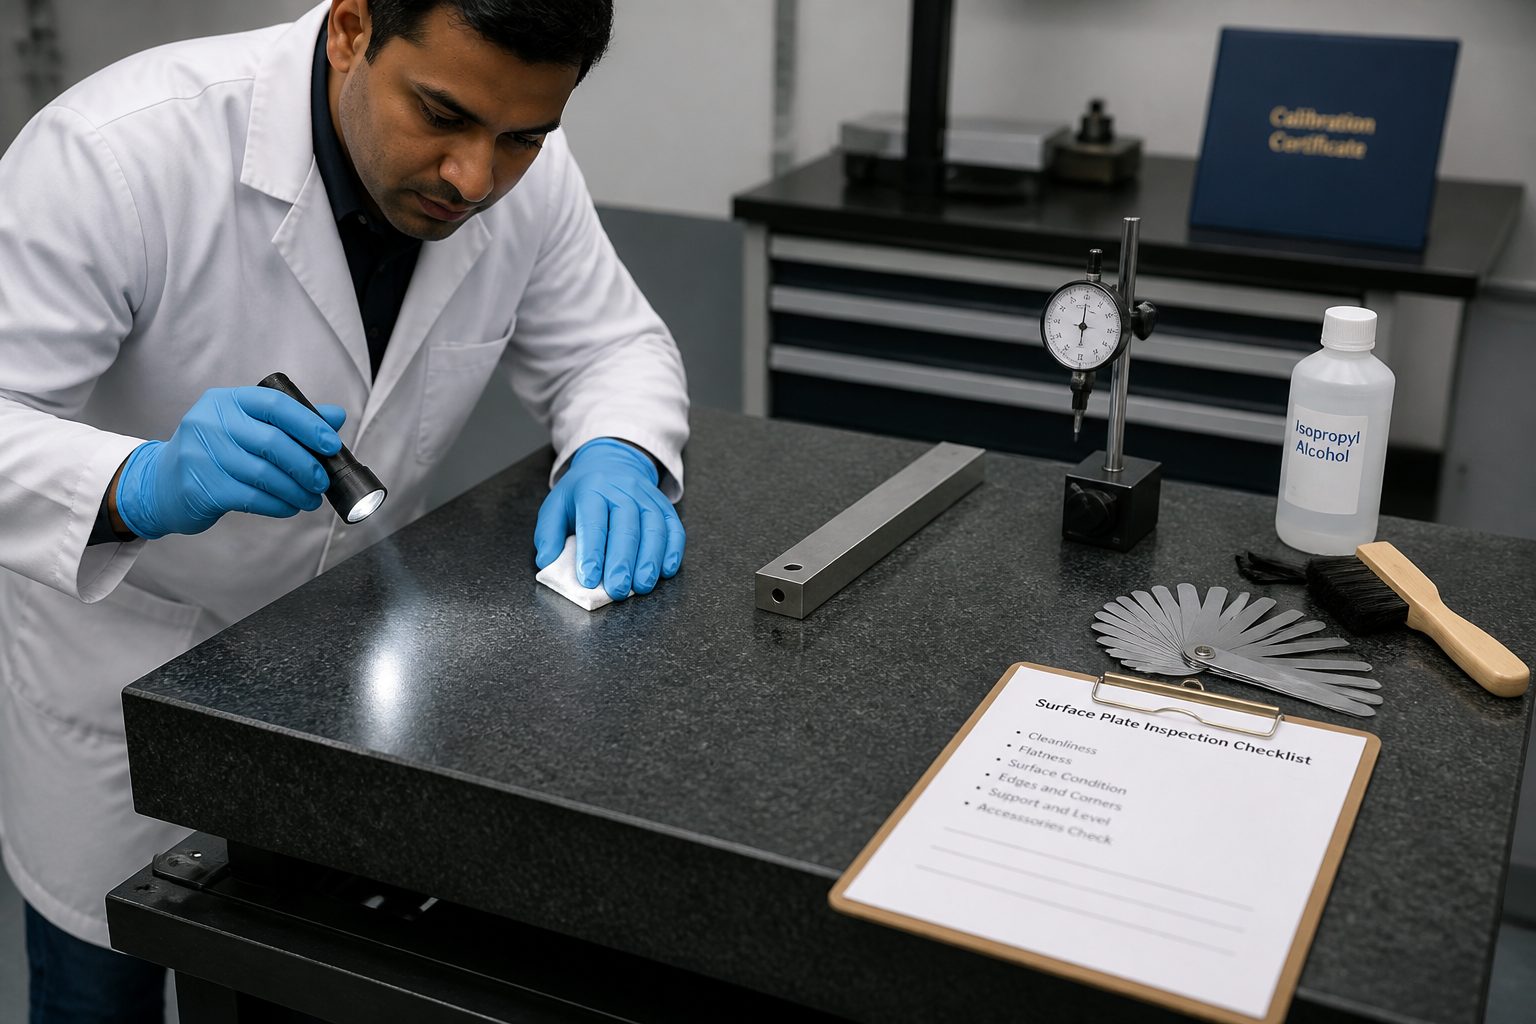
Checking for Grit, Burrs, and Embedded Debris
Even a visually clean surface plate can harbor microscopic grit or embedded debris that affects measurements. These tiny particles act like high spots, lifting your workpiece off the true plane.
Run a clean, gloved hand lightly across the surface to feel for any rough spots or raised areas. Your fingertips are surprisingly sensitive detectors for these subtle imperfections.
Tiny metal burrs from workpieces or tools can become embedded in the granite, creating localized high points. These are particularly insidious because they are often hard to see but easy to feel.
Use a soft, lint-free cloth or a specialized surface plate cleaner to gently wipe down the plate, observing if any stubborn spots remain. This process helps dislodge loose debris and reveals more persistent issues.
Never use abrasive materials or harsh chemicals on your granite surface plate. These can permanently damage the precision-lapped surface, requiring costly resurfacing.
If you find embedded debris, a non-marring plastic scraper or a specific granite cleaning stone might be necessary, but always proceed with extreme caution. The goal is to remove the contaminant without damaging the granite itself.
Inspecting for Chips, Cracks, and Corner Damage
Chips, cracks, and corner damage are common forms of surface damage that can significantly impact a surface plate’s utility. These are usually easy to spot but can be overlooked if you are not systematic.
Carefully examine all edges and corners for edge chips, as these areas are vulnerable to impact from dropped tools or shifting workpieces. Even a small chip can grow into a larger problem over time.
| Damage Type | Impact on Measurement | Inspection Method |
|---|---|---|
| Surface Chips | Creates localized low spots or instability for small parts. | Visual inspection, finger test for irregularities. |
| Edge Chips | Compromises datum edges, risk of further damage. | Run finger along all edges, visual check. |
| Hairline Cracks | Indicates structural stress, potential for plate deformation. | Bright light and magnifying glass, check for propagation. |
| Corner Damage | Affects stability of larger workpieces and accessories. | Physical check for stability, visual assessment. |
| Gouges/Scratches | Can snag workpieces, reduce contact area, introduce error. | Visual inspection from multiple angles, light touch. |
Evaluating Surface Finish and “Glazing”
The surface finish of a granite plate is critical for precise measurements, providing the necessary friction and stability for gauges. Over time, heavy use can alter this finish, leading to a condition known as “glazing.”
Glazing occurs when fine particles from workpieces or measurement tools become burnished into the granite, creating a slick, reflective surface. This slickness reduces the coefficient of friction, allowing tools to slide more easily and potentially affecting measurement repeatability.
Visually, a glazed area will appear shinier and smoother than the rest of the plate, losing the characteristic dull, matte finish of properly lapped granite. Run your hand over the surface; a glazed area will feel noticeably different.
This condition can lead to instability when positioning gauges or workpieces, introducing subtle shifts during measurement. It compromises the reliable contact needed for accurate readings.
If you detect significant glazing, it’s a strong indicator that the plate might need professional re-lapping to restore its original surface finish. Simple cleaning often won’t resolve this deeper surface alteration.
Regular inspection for glazing should be part of your granite surface plate inspection checklist to catch the issue before it severely impacts your measurement capabilities. Maintaining the correct surface finish is paramount for consistent precision.
Inserts, Threads, and Lifting Hardware: What to Verify
Beyond the top surface, inspect all integral components like threaded inserts and lifting hardware. These elements are crucial for securing accessories and safely moving the plate.
Check each insert condition for any signs of damage, stripped threads, or looseness within the granite. A compromised insert can make it impossible to properly mount fixtures, leading to unstable setups.
Test the threads by gently screwing in a matching bolt; it should turn smoothly without resistance or wobble. Any binding or excessive play indicates a problem that needs attention before use.
Lifting hardware, such as threaded holes for eyebolts, must also be in perfect condition. These are critical safety points for moving the heavy granite plate, and failure here could be catastrophic.
Ensure that the lifting hardware is securely seated and shows no signs of stress or deformation. Compromised lifting points mean the plate is unsafe to move, requiring immediate repair or replacement of the hardware.
Stand Condition and Support Points
A precision surface plate is only as stable as the stand it rests upon. Don’t overlook the condition of the stand and its support points, as these directly affect the plate’s flatness and overall stability.
Inspect the stand for any signs of rust, bending, or loose welds that could compromise its structural integrity. A wobbly or damaged stand will transmit vibrations and introduce deflection into the granite.
- Check for loose bolts or fasteners on the stand.
- Verify that all leveling feet are present and functioning.
- Ensure leveling feet are making firm contact with the floor.
- Look for signs of corrosion or damage on the stand frame.
- Confirm the stand is positioned on a stable, vibration-free floor.
- Inspect the support points for proper contact with the granite plate.
Confirming Plate Cleanliness Before Precision Work
Even after a thorough visual inspection, a granite surface plate needs meticulous cleaning before any precision work begins. Residual dust, oil, or fingerprints can introduce errors just as readily as physical damage.
Use a specialized surface plate cleaner and a clean, lint-free cloth to wipe down the entire working surface. This cleaner is formulated to remove contaminants without leaving a residue or damaging the granite.
Wipe in one direction to pick up debris, then rotate the cloth and wipe again, ensuring you cover every square inch. A systematic approach prevents spreading contaminants around.
Avoid using common shop rags or cleaners containing silicones or waxes, as these can leave a film that attracts dust and interferes with gauge block wringing. Your cleaning choice matters significantly.
After cleaning, allow the plate to air dry completely, or use another dry, lint-free cloth to gently buff it dry. Ensure no moisture remains, especially in any minor indentations.
A truly clean surface feels smooth and offers consistent resistance when you wring a gauge block onto it. This final cleanliness check is a non-negotiable step on your granite surface plate inspection checklist.
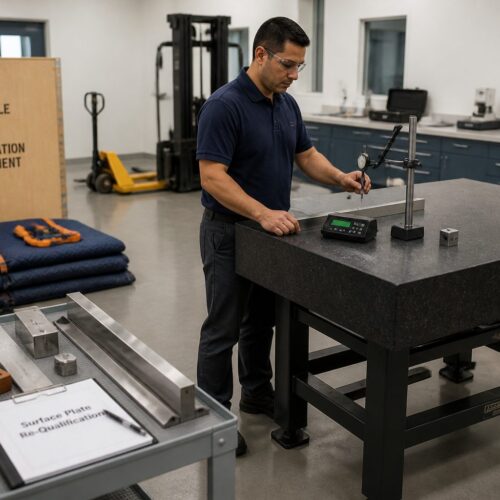
Basic Functional Checks for Repeatability
Beyond visual and tactile inspections, perform some basic functional checks to confirm the plate’s repeatability and overall performance. These quick tests give you confidence in your setup.
A common check involves wringing a gauge block onto different areas of the plate and observing the ease and consistency of the wring. A good wring indicates proper surface finish and cleanliness.
If gauge blocks wring easily in some areas but struggle in others, it could indicate localized wear, glazing, or contamination. This inconsistency points to potential measurement problems.
Another simple test is to use a precision level on various points across the surface. While not a flatness check, it can reveal gross deviations or instability in the stand.
Place a height gauge on different sections of the plate and take a measurement from a known standard. Observe if the readings are consistent, especially after moving the gauge around.
These functional checks don’t replace professional calibration but provide a rapid, practical assessment of the plate’s immediate readiness for work. They are an essential part of any granite surface plate inspection checklist.
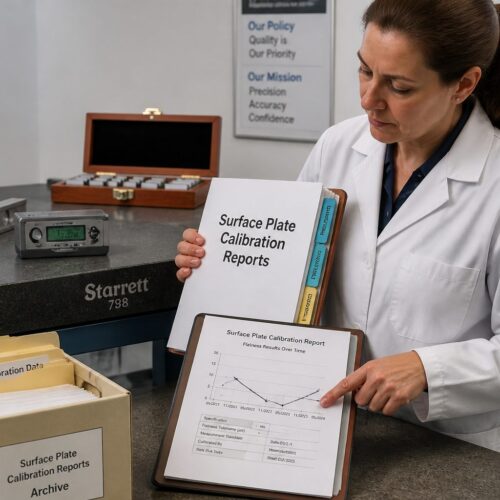
What to Document (and How Often)
Effective surface plate management includes consistent documentation of your inspection findings. This record keeping is not just bureaucratic; it’s a critical tool for maintaining measurement integrity.
Document every granite surface plate inspection checklist item, noting any surface damage, edge chips, insert condition, or other observations. Include the date of inspection and the inspector’s initials.
This detailed log allows you to track the plate’s condition over time, identifying patterns of wear or recurring issues. It helps you anticipate maintenance needs before they become critical problems.
For high-use plates, a daily or weekly quick check might be appropriate, while more thorough inspections could be monthly or quarterly. The frequency depends on your operational demands and environmental factors.
Always record the results of any functional tests, such as gauge block wringing consistency or level readings. These data points provide objective evidence of the plate’s performance between calibrations.
Proper documentation also provides a clear history for calibration technicians, helping them understand the plate’s usage and identify potential areas of concern. It ensures everyone is on the same page regarding the plate’s status.
This paper trail is invaluable for auditing purposes and demonstrates your commitment to quality control. It’s a non-negotiable step in responsible metrology practices, offering real insights into equipment health.
When an Issue Requires Service vs Simple Maintenance
Knowing the difference between an issue you can fix with routine maintenance and one that demands professional service is crucial for avoiding costly mistakes. Not every problem means a service call.
Simple maintenance covers tasks like cleaning, removing loose debris, and minor adjustments to leveling feet. These are things you can and should handle regularly as part of your granite surface plate inspection checklist.
However, issues like deep gouges, significant edge chips, or confirmed out-of-flatness readings require professional re-lapping and calibration. Attempting to fix these yourself can cause irreversible damage.
If you find that your gauge blocks no longer wring consistently across the surface, or if a precision level shows significant tilt that leveling feet can’t correct, it’s time to call in the experts. These are signs of deeper structural or surface finish problems.
Any signs of structural cracks, especially those extending into the main working area, immediately warrant professional assessment. These cracks compromise the plate’s integrity and make it unsafe for precision work.
Don’t hesitate to consult with your calibration service provider if you are unsure whether an issue is a maintenance task or a service requirement. Their expertise can save you time, money, and potential measurement errors.
Understanding these distinctions helps you maintain your equipment effectively and ensures your measurements remain reliable. It’s about proactive care versus reactive repair, always aiming for optimal performance.
Conclusion
A granite surface plate is an investment in precision, and its reliability hinges on diligent care and regular inspection. Implementing a robust granite surface plate inspection checklist isn’t optional; it’s fundamental to accurate metrology.
From a quick visual scan for surface damage to detailed checks for edge chips and insert condition, every step contributes to maintaining your plate’s integrity. Don’t let complacency compromise your measurements or your valuable equipment.
By consistently following these guidelines, you ensure your granite surface plate remains a true and stable reference for all your critical dimensions. Your commitment to these checks directly translates into higher quality results and fewer errors.
This proactive approach helps extend the life of your surface plate, delaying the need for costly repairs or replacements. It’s a smart strategy for any workshop that values accuracy and efficiency above all else.
Take the time to inspect, clean, and document; your precision measurements depend on it. This checklist empowers you to maintain the highest standards in your metrology lab, ensuring confidence in every reading.