
Maintaining a granite surface plate in pristine condition is essential for accurate metrology. These precision tools are the foundation for countless measurements in manufacturing and calibration labs. Even with the best care, accidental spills and residues can leave unwanted marks on the highly lapped surface, compromising their precision.
Understanding how to safely remove common shop stains without compromising the plate’s flatness or finish is a critical skill. Improper cleaning agents or abrasive methods can easily damage the delicate surface, leading to costly re-calibration or even replacement. This guide covers effective, safe techniques, from simple oil stains to stubborn adhesive removal, ensuring your precision equipment remains a reliable standard. Follow these professional recommendations to preserve the accuracy and longevity of your valuable metrology assets. A clean surface is a precise surface, and these methods help maintain that standard.
Identify the Stain First: Film vs Spot vs Embedded Residue
Before reaching for any cleaning solution, assess the nature of the mark on your granite surface plate. Stains manifest in different forms, each requiring a tailored approach for effective removal. Quick identification prevents unnecessary steps and potential damage, ensuring the most appropriate cleaning method is chosen.
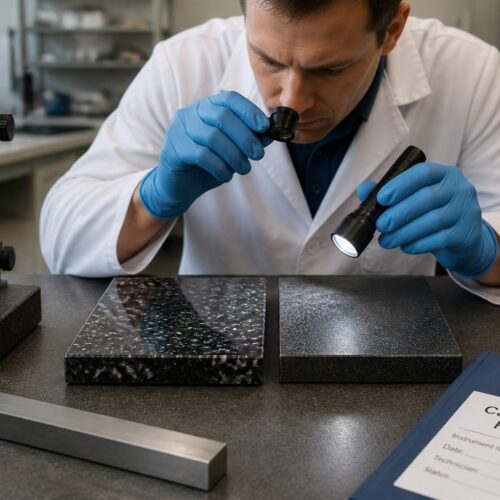
Surface films are thin, often iridescent layers from evaporating liquids or airborne contaminants, which can interfere with gauge block wringing or instrument seating. Spot stains are localized marks, like a drip of oil or coolant, more concentrated in a specific area.
Embedded residues are the most challenging, substances dried onto the surface or chemically reacted with the granite, such as adhesives, dried paints, or corrosion transfers. Misidentifying these as simple films leads to ineffective methods, wasting valuable time and resources.
Understanding the stain’s characteristics helps you choose the least aggressive cleaning method first. Always start gently and escalate only if necessary, minimizing risk to the plate’s integrity.
For instance, a light oil stain on granite might be a film, while heavy grease is a spot. Dykem or permanent marker often leaves an embedded residue needing careful attention. Accurate assessment is the first, most important step in successful granite surface plate stain removal.
Consider the stain’s age; fresh spills are almost always easier to clean than old, dried marks. This initial evaluation guides your entire cleaning process.
Knowing the material that caused the stain (e.g., oil, water-based coolant, adhesive) provides clues about its chemical properties, helping you select the right solvent or cleaning agent. This informed decision protects your investment.
What Not to Use: Solvents and Abrasives That Create New Issues
When faced with a stain on your granite surface plate, resist the temptation to use harsh chemicals or abrasive tools. Such methods often cause more damage than the original stain. While hard, granite is not impervious to chemical attack or physical scratching.
Never use strong acids or bases like muriatic acid, oven cleaner, or concentrated bleach. These chemicals etch the finely lapped surface, compromising flatness and creating irreversible damage by destroying the plate’s microscopic uniformity.
Avoid abrasive scrubbers, steel wool, sandpaper, or harsh scouring pads. Even soft materials can introduce micro-scratches, altering surface topography and affecting measurement accuracy. These scratches attract debris and make future cleaning harder.
Do not use solvents like acetone, paint thinner, or mineral spirits indiscriminately. They can leave greasy films or dissolve granite components. Always test in an inconspicuous area if unsure, and use sparingly.
Gasoline, brake cleaner, or other automotive fluids are unsuitable. They often contain aggressive chemicals that harm granite or leave difficult-to-remove residues. Stick to solutions specifically designed or recommended for precision granite care.
Improper cleaning methods negate the plate’s purpose. Your goal is to restore precision, not create new problems. Always prioritize gentle, targeted cleaning over aggressive approaches.
Even certain household cleaners contain silicates or additives that leave hard-to-remove residue, impacting measurement accuracy. Always check product labels. When in doubt, plain distilled water and a clean microfiber cloth are often the safest starting points.
Removing Light Oils and Handling Smears
Light oils and greasy smears are common, often from tool handling or lubricants. Addressing an oil stain on granite quickly prevents it from setting, as these are typically surface-level films or light spots.
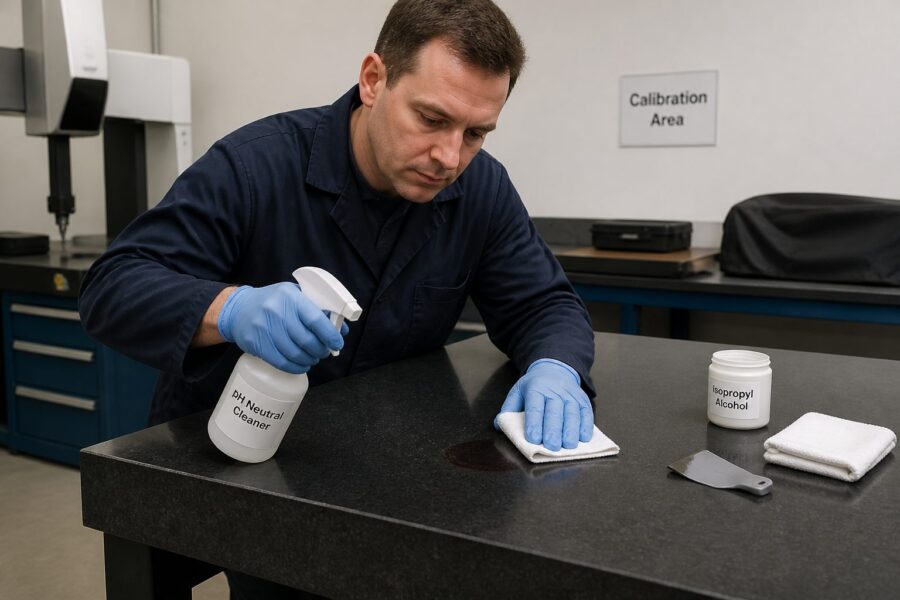
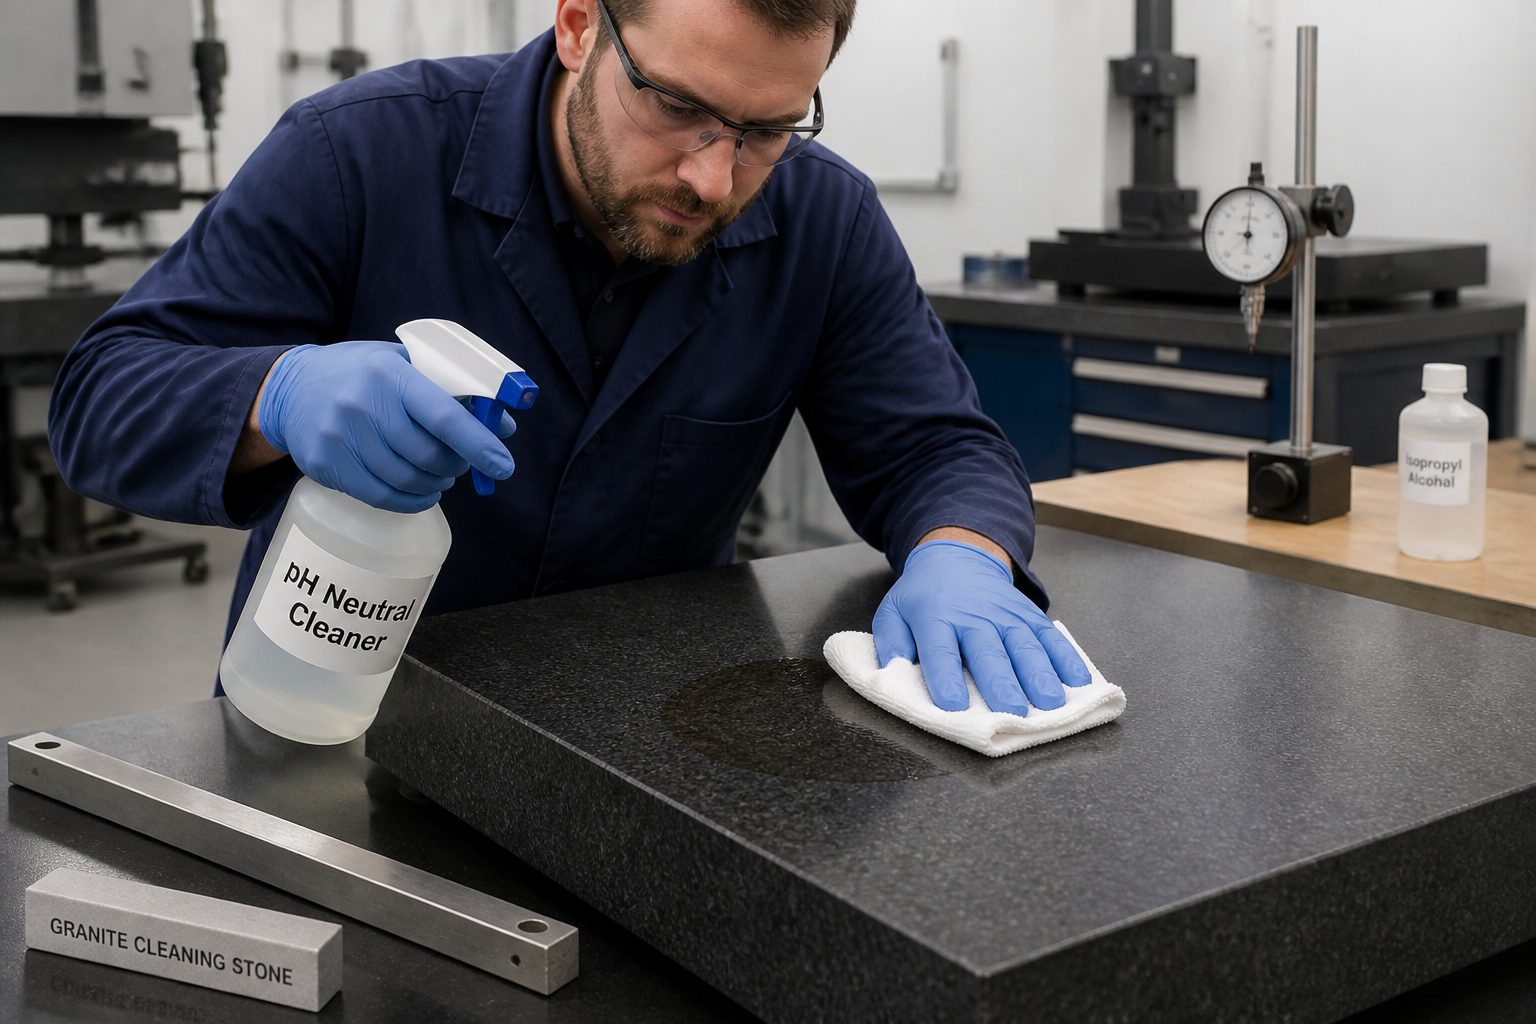
For fresh oil and general greasy smears, use a clean, lint-free microfiber cloth with a mild, pH-neutral granite cleaner. A dilute dish soap solution (a few drops in warm water) also works, aiming to emulsify oil without residue. Apply cleaner to the cloth, not directly to the plate, and gently wipe from the outside inward. Repeat with a fresh cloth section if needed.
| Stain Type | Recommended Cleaner | Application Method |
|---|---|---|
| Light Oil Film | pH-neutral granite cleaner | Spray and wipe with microfiber |
| Greasy Smear | Diluted dish soap solution | Dampen cloth, wipe, rinse |
| Heavy Oil Spot | Isopropyl Alcohol (IPA) | Apply to cloth, blot, then wipe |
| Coolant Residue | Distilled water & vinegar (diluted) | Spray, let sit briefly, wipe dry |
After cleaning, thoroughly rinse the area with a separate cloth dampened with distilled water, wiping until no suds or slickness remain. Leftover soap film interferes with measurements.
For stubborn or dried oil stains, isopropyl alcohol (IPA) is effective. Apply a small amount to a clean microfiber cloth, gently blot the stain to dissolve the oil, then follow with a clean, damp cloth to remove residue, and dry immediately.
Always ensure the granite surface plate is completely dry after cleaning to prevent water spots or residue. Proper drying is a crucial final step. These gentle methods ensure surface integrity, preventing minor issues from becoming major problems and maintaining accuracy.
Tackling Coolant and Water Spots Without Leaving Minerals
Coolant residue and water spots are common on granite surface plates, especially in machining environments. These marks contain dissolved minerals that, when dried, leave visible rings or films. Addressing them requires careful attention to avoid mineral re-deposition.
For fresh spills, immediately wipe them away with a clean, dry microfiber cloth. Speed is essential; less evaporation time means fewer minerals left behind, often preventing a stain.
If a water spot or coolant residue has dried, dampen a clean cloth with distilled water and gently wipe to redissolve mineral deposits. Avoid tap water, as it introduces new minerals.
For stubborn deposits, a very dilute solution of white vinegar (1:10 with distilled water) can be effective. Vinegar is mildly acidic and helps break down mineral bonds. Apply sparingly to a cloth, then wipe the stain.
After using vinegar, thoroughly rinse the area with a cloth dampened with plain distilled water. Residual vinegar could cause etching over time. Repeat rinsing several times for complete neutralization.
Finally, dry the granite surface plate completely and immediately with a clean, dry microfiber cloth. Leaving moisture, especially from tap water, leads to new water spots. A quick, thorough dry prevents future issues.
Regular cleaning with distilled water after each use in humid or coolant-prone environments significantly reduces mineral stain build-up. Proactive cleaning is your best defense against pervasive coolant residue, preserving the plate’s surface integrity.
Adhesives, Tape, and Label Residue: Controlled Removal Steps
Adhesives, tape, and label residue are challenging to remove from granite surface plates. These sticky substances cling tenaciously, attracting dust and debris, compromising measurement accuracy. A controlled, step-by-step approach is necessary.
Begin by gently scraping away bulk adhesive with a non-abrasive plastic scraper or a razor blade held at a very low angle. Ensure the blade is new and sharp to minimize scratching. This mechanical removal reduces residue for chemical treatment.
- Start with gentle scraping using a plastic tool
- Apply a small amount of mineral oil to soften the residue
- Let the mineral oil sit for 5-10 minutes
- Gently rub the softened adhesive with a clean cloth
- Wipe away all oil and adhesive residue
- Clean the area with IPA or a granite cleaner
- Rinse thoroughly with distilled water
- Dry the surface completely
For remaining sticky film, mineral oil or a granite-safe specialty adhesive remover can be effective. Apply a small amount to a clean cloth, gently rub the residue in small circles, and allow it to sit for a few minutes to soften. The oil helps break down the adhesive’s bond. Then, use a clean cloth section to wipe away loosened adhesive. Repeat, changing cloths as they saturate. Patience is key to avoid aggressive scrubbing.
After adhesive removal, thoroughly clean the area to remove oily residue from the mineral oil. Use isopropyl alcohol (IPA) or a pH-neutral granite cleaner applied to a clean microfiber cloth. This ensures no slick film remains. Finally, wipe the area clean with a distilled water-dampened cloth to remove cleaning agents. Immediately dry the granite surface plate with a separate, clean, dry cloth. Meticulous drying prevents water spots and ensures a perfectly clean, ready-to-use surface.
Never rush adhesive removal or use harsh solvents without testing. Taking your time and following these steps ensures effective granite surface plate stain removal without damaging the precision surface, rewarding you with a clean, accurate plate.
Ink, Dykem Transfer, and Marker Ghosting
Ink, Dykem transfer, and permanent marker ghosting are frustrating stains on granite surface plates. These durable substances adhere strongly, often leaving persistent discoloration, requiring specialized removal techniques.
For fresh ink or marker marks, isopropyl alcohol (IPA) is the most effective first defense. Apply a small amount of IPA to a clean microfiber cloth, gently blot the stain, and allow it to sit for a few seconds to dissolve the ink. Avoid vigorous rubbing, which can spread ink into granite pores. Then, gently wipe away with a clean cloth section. Repeat with fresh cloth and IPA until the stain is gone or no more ink transfers. Patience and persistence are vital.
Dykem, a layout fluid, is notoriously difficult once dried. For Dykem transfer, use a small amount of denatured alcohol or a specialized Dykem remover (check granite compatibility). Apply to a cloth and gently dab, allowing the solvent to work without excessive rubbing. Test in an inconspicuous area if unsure.
After using any solvent, thoroughly clean the area with a pH-neutral granite cleaner or a distilled water-dampened cloth. This removes solvent residue that could leave a new film, ensuring the area is completely free of cleaning agents.
For persistent marker ghosting, a poultice method can be effective as a last resort. Mix a mild abrasive powder (like baking soda or diatomaceous earth) with IPA to form a thick paste. Apply over the ghosted area, cover, and let sit for several hours or overnight. Once dry, gently scrape off the paste with a plastic scraper, then clean thoroughly with distilled water. Use extreme caution, as abrasives can impact surface finish. Proper granite surface plate stain removal requires a delicate balance.
Rust Transfer From Tools: How to Lift It Without Scratching
Rust transfer from tools is a concerning stain on granite surface plates, indicating improper storage or handling. These reddish-brown marks are microscopic particles of oxidized metal embedded in the surface, requiring a gentle chemical approach for removal.
Never attempt to scrape off rust stains with metal tools or abrasive materials. This will scratch the granite surface plate, causing irreversible damage. Physical abrasion is the enemy of precision surfaces.
The safest and most effective method uses a rust remover specifically formulated for stone or granite, containing oxalic acid or non-acidic rust-converting agents. Always read instructions and test on an inconspicuous area first.
Apply the rust remover to a clean cloth or directly to the spot, following manufacturer’s dwell time. The chemical action converts rust particles into a soluble form for wiping away. Do not let the product dry on the granite surface plate.
Once dissolved, gently wipe the area clean with a fresh, damp cloth. Crucially, rinse thoroughly with distilled water to remove all traces of remover, as residual chemicals could damage the granite over time. Immediately dry the granite surface plate completely with a clean, lint-free cloth after rinsing. Leaving moisture can lead to new water spots or encourage further rust formation. A dry surface is a clean surface.
For very light rust, a baking soda and distilled water poultice can help lift superficial stains, but it’s less effective for deeper transfer. Chemical dissolution, not mechanical force, is key for successful granite surface plate rust removal. Prevention, like keeping tools dry, is always the best strategy.
When a “Stain” Is Actually Surface Damage
Sometimes, what appears to be a stubborn stain on a granite surface plate is actually physical surface damage. These marks involve a change in the granite’s structure and cannot be cleaned away. Identifying true damage saves time and prevents futile cleaning attempts.
Scratches are common, appearing as fine lines or gouges that disrupt the smooth surface, often from dragging tools, dropping objects, or abrasive cleaning. You can feel a scratch with your fingernail, distinguishing it from a stain.
Etching occurs when acidic substances chemically react with granite, dissolving its polished surface. This leaves a dull, rough, or lighter-colored patch. Etching is irreversible without professional re-lapping, highlighting why strong acids are banned.
Pitting refers to small depressions or holes from dropped tools or corrosive chemicals eating away mineral grains. Pits compromise flatness and create areas for debris collection.
Chipping involves larger granite pieces breaking off, typically from edges due to impact. While not always on the working surface, severe chipping can affect overall stability and precision if it extends into the measuring area. Careful handling prevents these issues.
These forms of damage are permanent alterations. If you suspect damage, consult a professional calibration service. They can assess the extent and advise on potential repairs, such as re-lapping.
Attempting to “clean” physical damage with aggressive methods only worsens the problem. Recognizing the difference between a removable stain and irreversible damage is crucial for effective maintenance. Granite surface plate stain removal techniques are only for surface contaminants.
After-Care: Neutral Wipe and Dry-Down to Prevent Re-Deposits
Effective granite surface plate stain removal requires proper after-care. A neutral wipe and thorough dry-down are critical to prevent re-deposits and ensure long-term accuracy. Skipping these steps can lead to new problems.
After using any cleaning agent, always perform a final “neutral wipe” with a fresh, clean microfiber cloth dampened only with distilled water. This ensures no new minerals or impurities are introduced.
The neutral wipe removes residual cleaning agents or dissolved contaminants. Even microscopic films interfere with gauge block wringing or instrument seating, so this step guarantees a truly clean slate.
Immediately follow the neutral wipe with a thorough dry-down. Use a separate, clean, and completely dry microfiber cloth to absorb all moisture, working quickly and systematically to avoid wet spots.
Leaving moisture on the granite surface plate, especially in a shop environment, leads to issues. Water evaporates, leaving mineral deposits or promoting rust if ferrous particles are present. A dry surface repels contamination.
For optimal drying, a clean air blower (filtered and oil-free) can be used, but a dry, lint-free cloth is usually sufficient if done immediately and thoroughly. The goal is a completely dry, film-free surface.
This meticulous after-care ensures your granite surface plate stain removal efforts are not undermined. A clean, dry, and neutral surface is paramount for maintaining metrology equipment precision, extending the plate’s life and accuracy.
Prevention: Habits That Stop Stains Before They Start
The best approach to granite surface plate stain removal is prevention. Implementing simple, consistent habits significantly reduces spills, residues, and damage. Prevention is always more cost-effective and less time-consuming than cleaning.
Always keep your granite surface plate covered when not in use. A custom-fitted cover, plastic sheet, or clean cloth protects the surface from airborne dust, debris, and accidental splashes. Implement a “no food or drink” policy around the surface plate, designating a separate area for eating and drinking to keep your work surface pristine.
Wipe down your granite surface plate immediately after each use with a clean, dry microfiber cloth. This removes light dust, fingerprints, or minor residues before they set. Use clean, dedicated cloths for the surface plate only, avoiding rags used for general shop cleaning or oily tools to prevent transferring contaminants. A quick daily wipe prevents accumulation and cross-contamination.
Store tools and measuring instruments properly, away from the surface plate. This prevents accidental drops (chips/pits) and minimizes rust transfer from uncleaned tools. Handle all liquids, especially coolants and oils, with extreme care, using drip trays or protective mats when tasks involve nearby liquids. A tidy workspace and conscious effort reduce the chances of oil stains or coolant residue forming.
Regularly inspect your granite surface plate for developing issues. Catching a minor film or spot early is easier than cleaning a set-in stain. Proactive inspection is a cornerstone of good metrology practice. Educate all personnel on proper handling, cleaning, and storage. A shared understanding ensures everyone contributes to maintaining the plate’s integrity, ensuring your granite surface plate remains a reliable, precise standard for years.
Conclusion
Maintaining a clean and accurate granite surface plate is fundamental for reliable metrology. While stains are unavoidable, knowing correct granite surface plate stain removal techniques is essential. Improper methods lead to irreversible damage, compromising precision.
We’ve covered identifying stain types, from light films and oil stains to stubborn coolant and adhesive residue. Each method emphasizes gentleness, targeted action, and thorough after-care to prevent new problems. Always prioritize the finely lapped surface’s integrity.
Remember to avoid harsh chemicals and abrasive tools, common culprits in damaging precision granite. Instead, opt for pH-neutral cleaners, distilled water, and specific solvents like isopropyl alcohol. Patience and a methodical approach yield the best results.
Ultimately, prevention is your most powerful tool. Adopting simple habits—covering the plate, immediate wiping, and careful handling of tools and liquids—drastically reduces intensive cleaning needs. Proactive maintenance extends your surface plate’s life and accuracy, ensuring it remains a dependable metrology foundation.
These guidelines empower you to keep your granite surface plate in optimal condition. Consistent care and informed cleaning practices ensure your critical measurement tool maintains factory-level accuracy for years, reflecting a dedication to quality.
By following these recommendations, you safeguard measurement accuracy and the longevity of your valuable granite calibration standards. Your investment in precision equipment deserves the best care, and proper stain removal is key to upholding your metrology standards.