
Granite surface plates are crucial for accurate metrology, providing incredibly flat, stable reference planes. Their immense weight and delicate precision mean improper handling risks costly damage, compromised accuracy, and serious safety hazards. Understanding proper handling and lifting techniques is essential for quality control and protecting your investment.
This guide outlines critical steps for safely moving and positioning these precision instruments. We cover initial planning, equipment selection, and precise placement, ensuring your plate maintains integrity, extends its life, and guarantees consistent, reliable results.
Why Handling Matters: Accuracy, Safety, and Long-Term Wear
A granite surface plate’s core purpose is to provide an unyielding, perfectly flat reference plane. Improper handling introduces stresses that warp the plate, leading to “micro-damage” that throws off sensitive measurements. Preserving inherent accuracy is paramount.
Beyond accuracy, safety is a huge concern. Objects weighing hundreds or thousands of pounds can crush limbs or cause fatalities if dropped. Shortcuts are not an option.
Long-term wear depends on proper treatment. Incorrect lifting or placement exacerbates stresses, leading to cracks or chips, shortening equipment lifespan. A damaged plate requires costly repairs or replacement. Proper handling preserves precision and peace of mind.
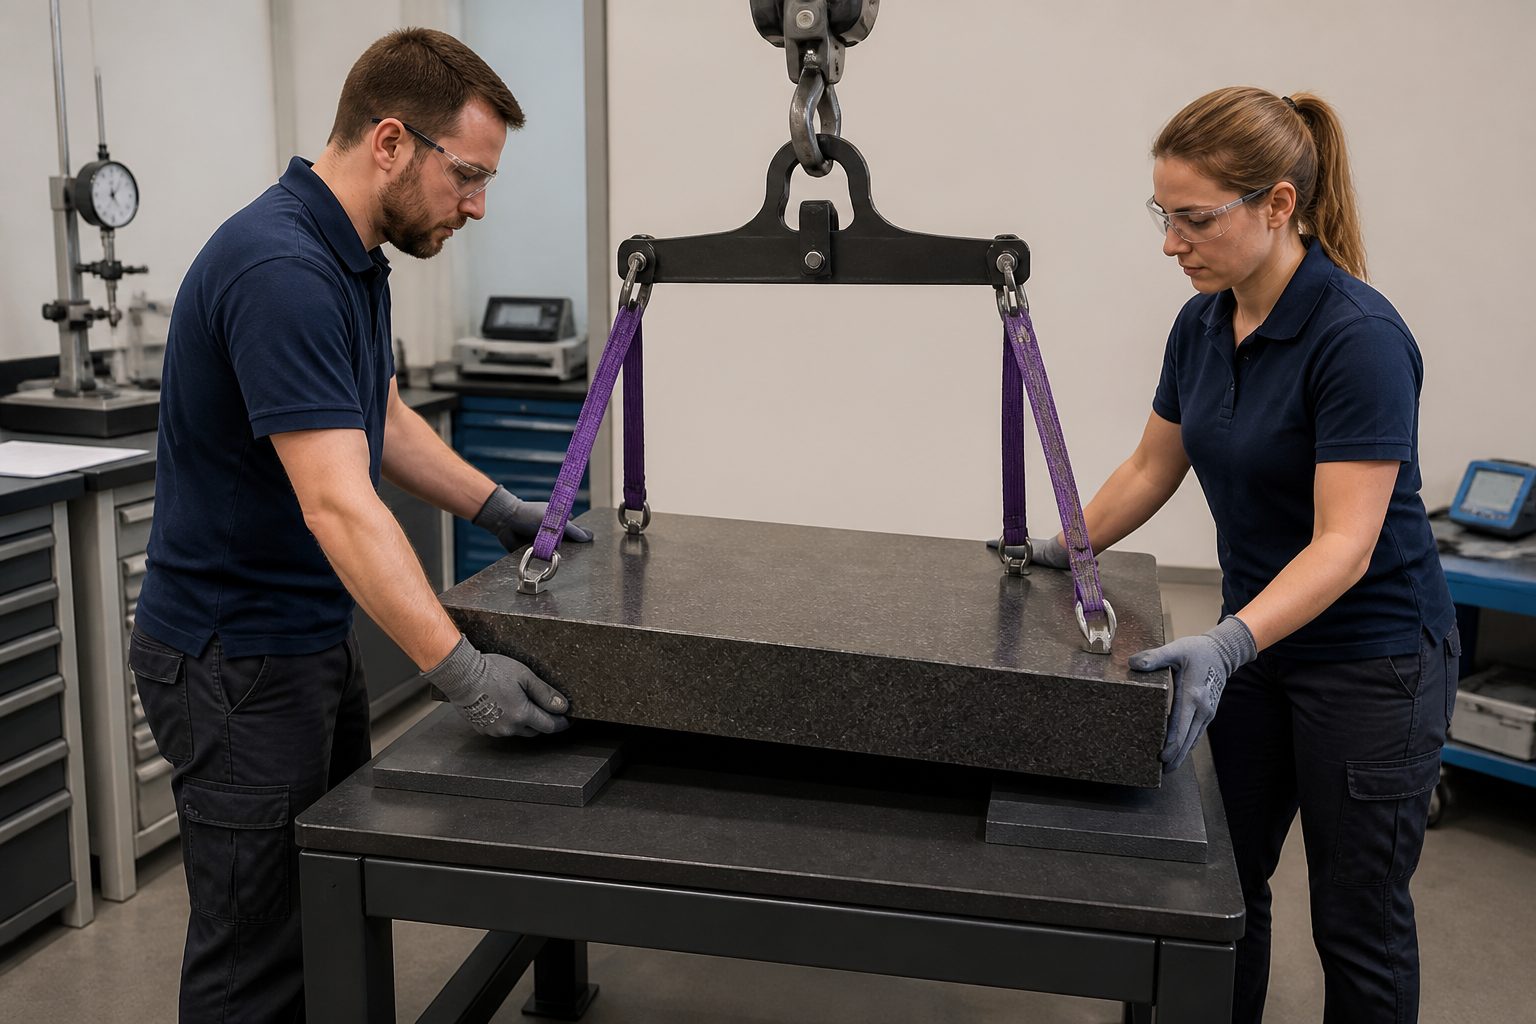
Granite’s high compressive strength versus tensile weakness means even slight missteps matter. It cracks under tension or twisting forces. Proper support during any move is critical for maintaining structural integrity and flatness, preventing hidden damage.
Know Your Plate: Size, Thickness, and Support Requirements
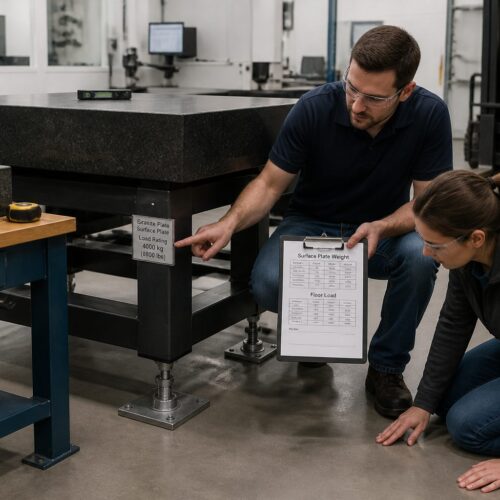
Before moving, know your plate’s exact specifications. Size and thickness dictate weight, equipment, and personnel. Manufacturer’s recommended support points are non-negotiable for preserving accuracy; ignoring them can induce sag or twist.
| Plate Size (Inches) | Approximate Weight (Lbs) | Recommended Lifting Method | Minimum Personnel |
|---|---|---|---|
| 18 x 24 x 3 | 180-200 | Manual (with lifting straps) | 2 |
| 24 x 36 x 4 | 400-450 | Pallet Jack / Forklift (with lifting frame) | 2-3 |
| 36 x 48 x 6 | 1000-1200 | Forklift / Gantry Hoist (with lifting frame) | 3-4 |
| 48 x 72 x 8 | 2500-3000 | Overhead Crane / Heavy Forklift (with specialized lifting frame) | 4+ |
| 60 x 120 x 10 | 6000-7500 | Overhead Crane (with engineered lifting beam) | 5+ |
Check the underside for markings or labels indicating weight, grade, and support configurations—your primary guide. Granite thickness impacts rigidity; thicker plates are stable but heavier, while thinner plates are more susceptible to bending if not supported correctly.
Most plates are designed for three specific support points, often marked. Deviating causes flexing and loss of flatness. If your plate has threaded inserts, use dedicated lifting frames or leveling jacks. Lifting by clamping sides or edges risks chips or cracks.
Always consult original documentation for handling instructions. If unavailable, contact the manufacturer with the serial number. Guessing is not an option for such a precise instrument.
Preparing the Area: Clear Paths, Clean Floors, and Staging
Effective preparation is crucial. Inspect starting and destination areas for hazards. A clear path, free of obstructions and debris, is critical for safety. Clean the floor along the entire route, removing oil, water, loose tools; even a small pebble can cause instability.
Assess the floor’s load-bearing capacity at the destination. Exceeding industrial floor weight limits causes structural damage. Verify the floor can safely support the combined weight of the plate and its stand.
Ensure adequate lighting; poor visibility increases accident risk. Plan exact placement, marking the footprint if necessary. Secure nearby machinery and use barriers to define the work zone. Communication is key; everyone should know a heavy move is underway.
If using a surface plate stand, ensure it’s assembled, stable, and ready. Inspect for damage, ensuring leveling feet are adjusted. Gather all necessary tools: wrenches, cleaning supplies, protective covers. A well-prepared team works safely and efficiently.
Lifting Methods: Hoists, Forks, and Approved Hardware Basics
Selecting the correct lifting method is paramount. Smaller plates may use specialized straps or a pallet jack, but larger plates demand mechanical assistance. Choose equipment rated well above the plate’s weight, providing a generous safety margin.
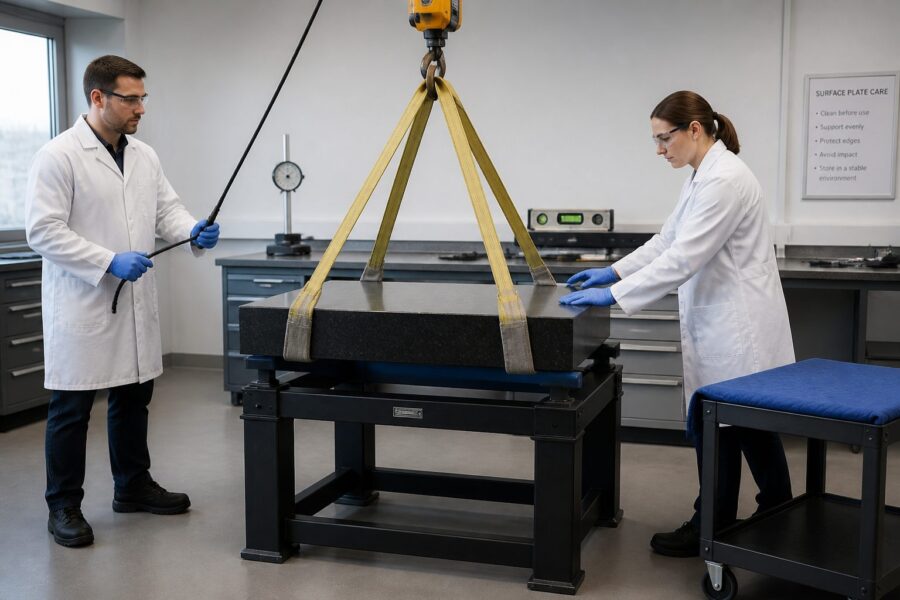
Overhead cranes or gantry hoists are ideal for large plates, offering precise vertical control; use a spreader beam to keep slings vertical, preventing side compression. Forklifts are suitable with sufficient capacity and attachments; use a specialized lifting frame or wide platform. Never lift directly with narrow forks, as this concentrates stress.
Approved hardware is non-negotiable, including heavy-duty straps, chains, shackles, and lifting frames. Inspect all hardware for wear; a single weak link can lead to catastrophic failure. Avoid homemade or unrated devices; manufacturer-recommended frames are safest.
Pad slings to prevent chipping. Perform a “test lift” to check balance. Ensure the operator is certified and experienced. Clear communication is vital.
Where to Lift: Understanding Safe Support and Balance
Knowing where to apply lifting force is critical. Plates are engineered with specific lifting points that evenly distribute weight and prevent deflection. Most are designed for three non-coplanar support points, usually marked. Ignoring these leads to irreversible damage and loss of flatness.
- Consult manufacturer’s diagrams for specific lifting points.
- Use dedicated lifting frames that attach to specified inserts.
- Position slings to lift from the plate’s center of gravity.
- Ensure slings are vertical or use a spreader bar to prevent inward pressure.
- Pad all contact points between slings and granite.
- Avoid lifting by the plate’s edges or corners.
- Never use clamps that grip the working surface.
- Verify even weight distribution before lifting.
- Use multiple lifting points for larger plates.
- Ensure the lifting device is perfectly level before engaging.
For plates with threaded inserts, use a specialized lifting frame that bolts directly into these points for the most secure lift. When using slings, position them symmetrically around the plate’s center of gravity, typically two slings underneath at specified points. Never wrap slings around the perimeter, as this causes tension, bowing, or cracking.
Ensure lifting equipment is positioned directly over the plate’s center of gravity for a balanced, controlled vertical ascent, preventing unexpected swinging or tilting.
How to Set Down Without Twisting the Plate
Setting down a granite surface plate is as critical as lifting it. Lower the plate slowly and evenly onto its stand, avoiding drops, jolts, or twisting. Uneven contact induces lasting distortion. Before lowering, ensure the stand is perfectly level and positioned precisely, with support points aligning exactly with the plate’s designated lifting points.
Gradually lower the plate with small, controlled movements, the operator communicating constantly. Avoid lateral movement once contact begins. Ensure all support points make contact simultaneously; if one corner touches first, the plate will twist under its weight, causing internal stresses and micro-fractures.
Once gently resting, carefully remove lifting hardware. Then, begin precise leveling using the stand’s screws to achieve desired flatness, checking with a precision level. Make small, even adjustments, never overtightening. The plate should rest naturally. Take your time; rushing can undo careful handling.
Moving Short Distances: Rolling Stands and Controlled Shifts
Even short moves of a granite surface plate require careful planning; improper execution can induce harmful stresses. For smaller to medium plates, specialized rolling stands are an excellent solution, featuring heavy-duty casters and a robust frame. Lock casters once the plate is in position.
Before rolling, clear the path of all debris; even a tiny obstruction can jam a caster, stressing the plate. Push or pull gently and evenly from multiple points, avoiding sudden jerks. Two people should guide the plate to maintain control and a straight path, preventing twisting.
For minor adjustments, specialized air skates or pneumatic lifting pads lift the plate on a cushion of air, allowing effortless gliding. This minimizes friction and stress but requires a clean, smooth floor and compressed air.
Never slide a granite surface plate directly across the floor; friction and uneven contact will damage the plate and floor. When using a pallet jack, ensure forks are fully extended and centered under a reinforced base. Lift just high enough to clear the floor, keeping speed slow and steady. Maintain constant situational awareness and clear communication; safety protocols apply universally.
After the Move: Letting the Plate Stabilize Before Use
Once your granite surface plate is on its stand and roughly leveled, resist immediate use. Granite is susceptible to thermal and mechanical stresses that need time to dissipate. Rushing into measurements can lead to inaccurate results.
Allow the plate to stabilize for 24 to 48 hours. This period lets the granite adjust to ambient temperature and humidity, as gradients cause subtle expansion and contraction. Mechanical stresses from handling also relax, allowing internal forces to equalize and restoring true flatness.
After stabilization, thoroughly clean the plate, removing dust or fingerprints. Use a specialized granite cleaner and lint-free cloth. Then, proceed with final, precise leveling using a high-precision spirit level or electronic autocollimator. This fine-tuning ensures the plate is perfectly flat and ready for metrology work.
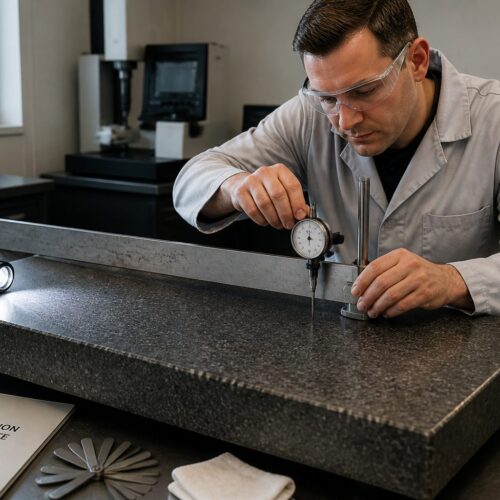
Perform a calibration check after any significant move, especially for Grade A or AA plates. Verify flatness with a master straightedge or electronic level. Document the move date and re-calibration results in your plate’s maintenance log; good record-keeping is essential.
Common Handling Mistakes That Cause Micro-Damage
Common mistakes cause invisible micro-damage. Lifting from non-designated points puts uneven stress on granite, causing internal cracks. Using inadequate or unapproved lifting hardware (undersized slings, makeshift clamps) risks catastrophic drops or surface damage.
Dropping or jolting the plate, even slightly, creates hairline cracks. Sliding it across the floor or pushing without rolling stands causes abrasion and cracking. Precision requires smooth, controlled movements.
Failure to clear the path of debris is frequent; small particles can jam a stand or create uneven contact. Using a forklift with bare, narrow forks directly on the underside concentrates weight, guaranteeing a crack; always use a proper lifting frame or padded platform.
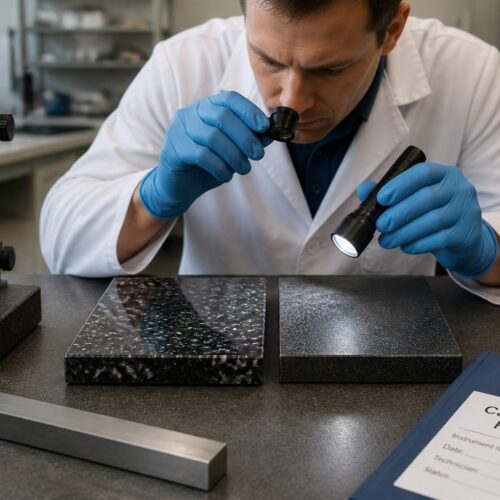
Not allowing stabilization after a move means inaccurate data from a stressed surface. Neglecting regular inspection means problems go undetected, impacting functionality. Consistent vigilance is key.
Creating a Simple Move Plan for Your Shop
A well-documented move plan is your best defense against accidents and damage. Document everything to ensure consistency and safety, regardless of who performs the move.
Start by identifying the specific plate (size, weight, grade) and consulting the manufacturer’s manual for lifting points. Determine origin and destination, including the exact path. Conduct a site survey for obstacles and floor conditions. Clear the path and prepare the destination stand.
Select appropriate lifting equipment (crane, forklift with attachment, rolling stand). Verify capacity exceeds plate weight. Inspect all lifting hardware for wear. Assign roles and responsibilities, designating a lead person for oversight and communication.
Outline the step-by-step procedure: preparation, attaching slings, even lifting, gentle setting, and stabilization. Incorporate a safety checklist (PPE, emergency procedures, communication signals). Review with the team; safety is always the top priority.
Include a post-move section detailing stabilization, cleaning, re-leveling, and calibration check. Document the move in your equipment log, noting dates and observations. This comprehensive plan protects equipment and personnel.
Conclusion
Proper granite surface plate handling is critical for maintaining precision metrology equipment integrity. These heavy, highly accurate instruments demand meticulous care; neglecting proper procedures risks expensive damage and compromised accuracy. Understanding lifting points, preparing a clear path, and utilizing the right equipment are crucial, preventing subtle distortions.
Even short moves require attention to detail, and post-move stabilization is as crucial as the lift. Allowing the granite to acclimate and relax guarantees continued flatness, ensuring consistent, reliable results. A comprehensive move plan and strict adherence to safety protocols protect your investment and team, translating directly into measurement quality.