
Working with precision requires tools that are both accurate and durable. The granite surface plate is a cornerstone of dimensional metrology, providing an unyielding, flat reference plane for precise measurements. However, even something as robust as granite is susceptible to damage, especially from microscopic grit.
Scratches on your surface plate degrade its accuracy, compromising the very measurements you rely on it for. Ignoring proper care can lead to costly re-calibration or even plate replacement down the line. We need to actively protect this critical piece of equipment.
Understanding how to prevent scratches on a granite surface plate in daily use is not just about maintenance; it is about preserving your measurement integrity. This guide will walk you through practical strategies for grit control, careful tool handling on granite, and overall surface plate protection. Let’s make sure your granite plate stays pristine and precise for years to come.
What Actually Causes Scratches on Granite Plates
Many people assume granite is impervious to all damage, but this is a common misconception. While granite is incredibly hard, its microscopic structure still allows for abrasion from even harder or sharper materials. The biggest culprit is often not what you would expect.
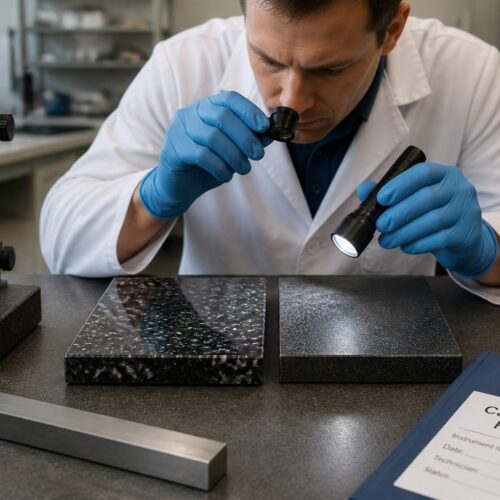
Fine particulate matter, often invisible to the naked eye, poses the most significant threat. This includes tiny metal chips, abrasive dust from grinding operations, or even hardened dirt particles carried in on workpieces or tools. These seemingly innocuous bits act like miniature cutting tools when trapped between two surfaces under pressure.
Another cause of scratching comes from improper tool handling on granite itself. Dropping heavy tools or gages directly onto the surface can cause localized impact damage or chipping, even if it does not produce a long scratch. Sliding tools with sharp edges or burrs across the plate without proper care also invites trouble.
A surprising source of damage can be the very parts you are measuring. Workpieces often have sharp corners, burrs, or embedded grit from previous machining operations. Dragging these across the granite without cleaning can etch lines into the surface, requiring expensive re-lapping.
Even environmental factors can contribute to plate damage over time. Airborne dust from nearby manufacturing processes, especially grinding or sanding, can settle on the plate, creating a constant abrasive threat. Maintaining a clean environment is a crucial aspect of overall surface plate protection.
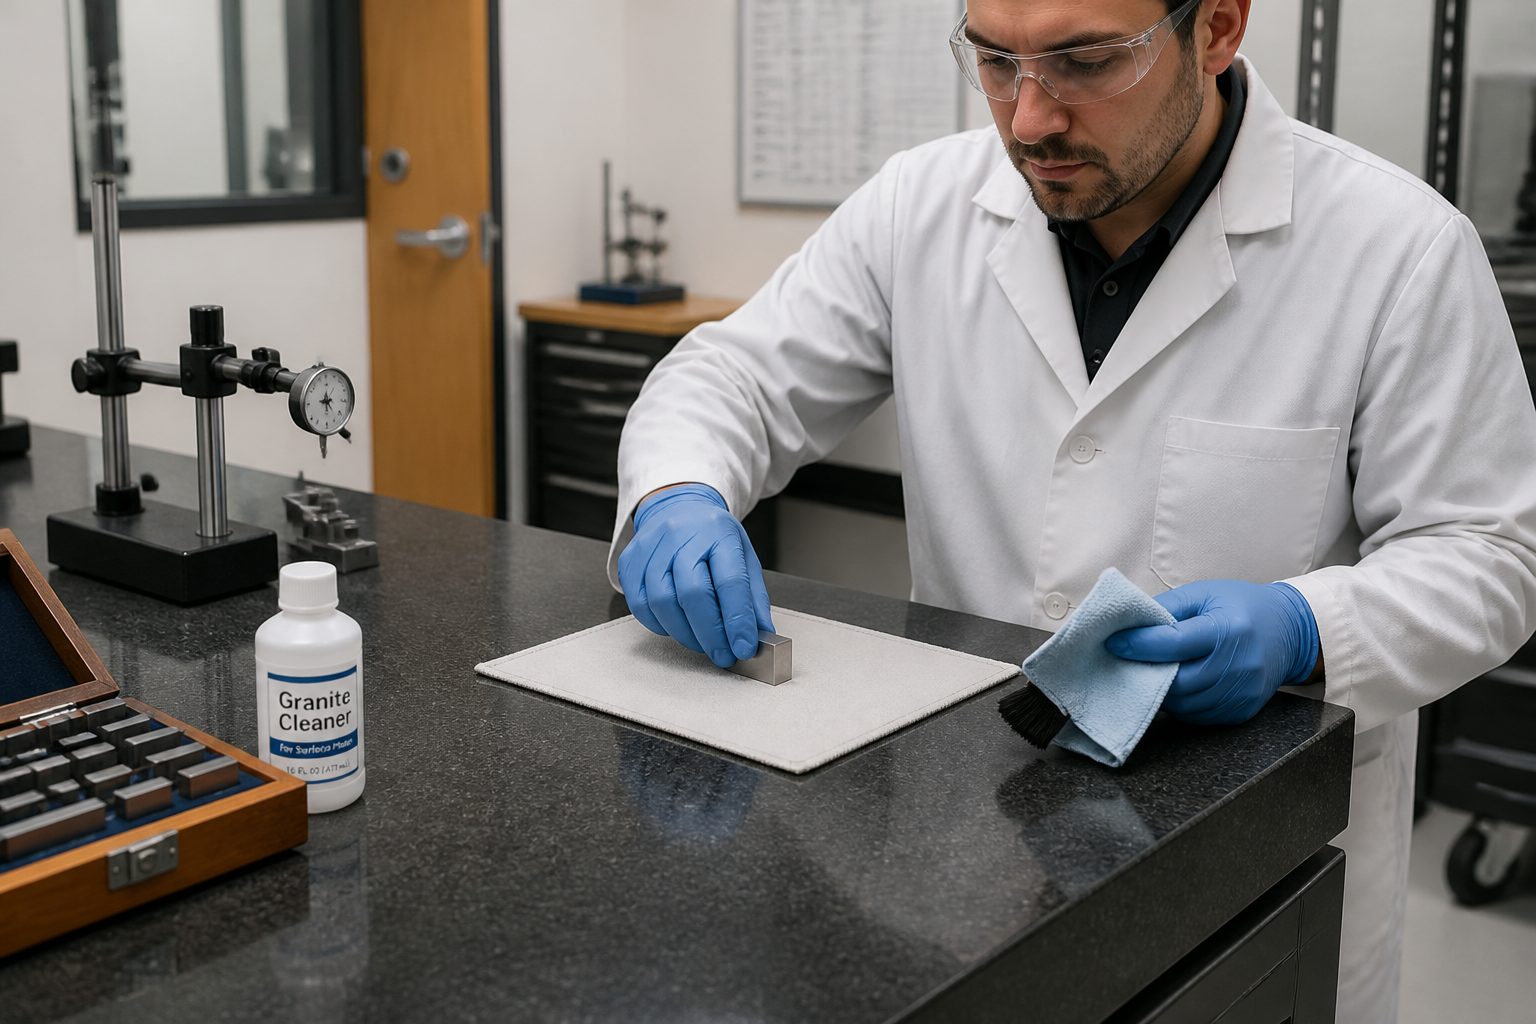
The #1 Risk: Grit and Hard Particles on the Workpiece
Without a doubt, the single greatest threat to your granite surface plate is grit and hard particles. These tiny, often invisible enemies are relentless and cause the most common type of damage. They embed themselves into workpieces or tools, ready to wreak havoc the moment you slide them across the plate.
Imagine a tiny piece of hardened steel or silicon carbide, perhaps a speck from a grinding wheel, getting caught under a heavy component. As you move that component, the grit acts like a diamond stylus, carving a permanent groove into your precision surface. This is why grit control is paramount.
| Grit Source | Common Location | Prevention Strategy |
|---|---|---|
| Machining Chips | Freshly machined parts | Thorough washing/air blasting before plate contact |
| Grinding Dust | Parts from grinding operations | Dedicated cleaning station away from plate |
| Shop Floor Dirt | Bottom of shoes, casters | Maintain clean room, dedicated footwear |
| Tool Burrs | Untreated edges of hand tools | Deburr all tools, use non-marring tools |
| Airborne Particulates | Dust from nearby processes | Air filtration, plate cover when not in use |
| Contaminated Rags | Rags used for general cleaning | Use only clean, lint-free cloths for plate |
Metal chips from lathes or mills are particularly dangerous because they are often sharp and harder than the granite itself. They cling to machined surfaces, waiting for an opportunity to scratch. Always assume a machined part carries some form of abrasive contaminant.
Even seemingly soft materials can hide dangerous particles. Plastic molds might have embedded flash, or a cast part could have sand inclusions. The key is to develop a habit of inspecting and cleaning every item before it touches the granite, making it a critical aspect of how to prevent scratches on a granite surface plate.
This vigilance extends beyond the workpiece to the tools and even your own hands. Tiny bits of grit can transfer from your fingers, a dirty rag, or the bottom of a gage stand. A clean environment and meticulous pre-inspection are your best defense against this pervasive threat.
Safe Ways to Place and Slide Parts (and When Not to Slide)
The act of placing and moving workpieces on a surface plate is where most scratches occur. Many operators, through habit or haste, slide parts into position without considering the abrasive risk. This casual approach is a primary reason for premature plate wear and damage.
Always lift and place parts gently onto the surface plate, rather than sliding them from the edge. This eliminates the initial scraping motion that can drag any unseen grit across a larger area. Make sure the part is stable before letting go, preventing any unintended shifts.
When you must move a part, lift it slightly to clear the surface, reposition, and then set it back down. For heavier components, using an overhead crane or hoist with soft slings can facilitate careful placement. Never push or drag heavy items without an air-bearing lift or similar aid.
Sometimes, sliding a part is necessary for certain measurement techniques, but this should be done with extreme caution. Ensure both the part’s contact surface and the granite are impeccably clean. A thin film of specialized surface plate cleaner can reduce friction and help float away any micro-particulates, providing a layer of surface plate protection.
Avoid sliding any part that has sharp, un-deburred edges, even if it appears clean. Those edges can dig into the granite if any pressure is applied. If a part has a rough bottom surface, it should never be slid; always lift and reposition it to prevent damage.
Using Pads, Paper, and Mats: What’s Safe and What’s Not
Many operators try to use protective layers between workpieces and the granite, but not all solutions are equally safe or effective. Some common practices can actually introduce new risks, making proper surface plate protection a nuanced topic. It is important to know the difference between helpful barriers and potential hazards.
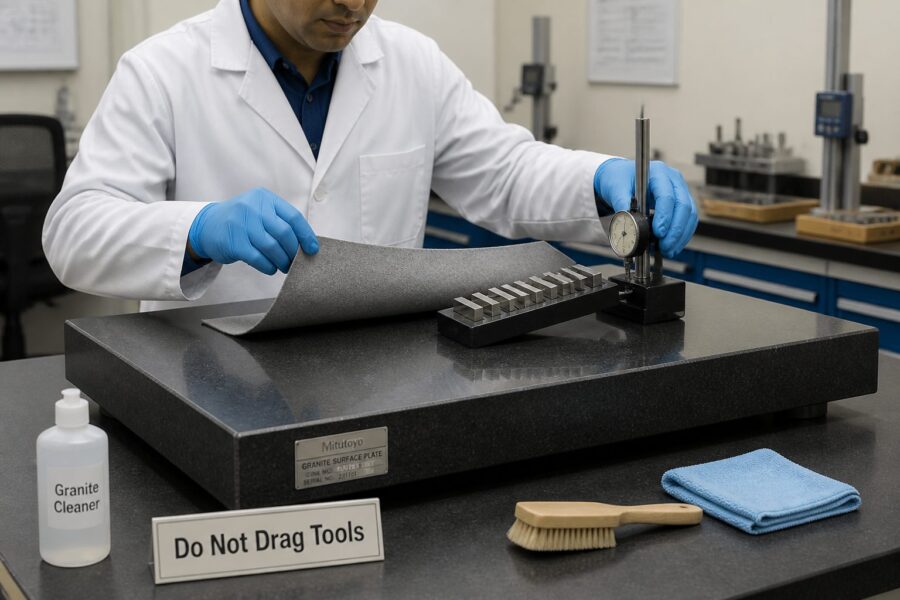
Specialized non-abrasive pads, often made from materials like UHMW polyethylene or certain types of felt, can provide a safe buffer for sliding parts. These pads are designed to be softer than the granite and will not embed grit easily. They are a good option for protecting the surface when frequent repositioning is required.
However, using ordinary paper or cardboard as a protective layer is generally a bad idea. Paper, especially, can contain wood fibers, clay fillers, or even microscopic grit that can scratch the plate. Cardboard is worse, often having abrasive fibers and an uneven surface that traps debris. These materials fail as effective surface plate protection.
Rubber mats are also often unsuitable for precision work on a surface plate. While they might protect against impact, many rubber compounds can leave residues or even react with certain chemicals, compromising the plate’s cleanliness and flatness. Some rubber can also be surprisingly abrasive when grit gets embedded.
If you absolutely must use a protective layer, choose materials specifically designed for metrology applications or those known to be non-abrasive and lint-free. Always ensure the protective layer itself is clean before placing it on the granite. This attention to detail is crucial for how to prevent scratches on a granite surface plate while using such aids.
Handling Gage Blocks, Indicators, and Stands Without Damage
Even small, seemingly innocuous tools like gage blocks and indicator stands can cause significant damage if handled carelessly. Their precision ground surfaces and sharp edges demand respect on the granite plate. Proper tool handling on granite is just as important as workpiece handling.
Gage blocks, being made of hardened steel or ceramic, are harder than granite and will scratch it easily if slid with any grit underneath. Always wring gage blocks onto each other and onto the surface plate with a clean, gentle motion. Never drop or slide them across the bare granite.
- Always lift and place tools gently
- Clean the base of all stands before use
- Wipe gage blocks with a lint-free cloth
- Avoid sliding any tool with a sharp edge
- Use a dedicated soft mat for tool staging
- Inspect tool bases for burrs or damage
- Never drop measuring instruments
Indicator stands and height gages, especially those with heavy bases, are prone to scratching if dragged. Their bases can pick up grit or develop burrs over time. Always lift these tools when repositioning and routinely inspect their undersides for any abrasive imperfections that could damage the plate.
Similarly, care must be taken with dial indicators and probes. While the probe tips themselves are generally rounded or made of non-marring materials, the bodies of the indicators or their mounting hardware can have sharp edges. Ensure proper mounting and avoid letting these components scrape against the granite surface.
Even small items like scribers or layout tools must be kept well away from the granite surface plate. Their carbide or hardened steel tips are designed to scratch metal, and they will easily scratch granite too. Dedicate separate areas for layout work if possible, or use a sacrificial plate.
The habit of careful tool handling on granite extends to every item that comes into contact with the plate. A quick wipe down and visual inspection of any tool before placing it on the surface plate should become second nature. This proactive approach ensures long term surface plate protection.
Cleaning Before Measuring: The Two-Surface Rule
The “Two-Surface Rule” is a fundamental principle for effective grit control and preventing scratches on a granite surface plate. It dictates that both the surface plate and the workpiece (or tool) must be meticulously cleaned immediately before any contact. Neglecting either surface invites disaster, as even one contaminated surface can cause significant damage.
Start by cleaning the granite surface plate itself. Use a dedicated, high-quality surface plate cleaner and a clean, lint-free cloth. Spray a small amount of cleaner onto the plate and wipe thoroughly, ensuring no streaks or residue are left behind. Then, dry the surface completely with a separate, clean, dry cloth.
Next, focus on the workpiece or tool you intend to place on the plate. This step is often overlooked and leads to countless scratches. Use an air blast to remove loose chips and dust, followed by a solvent wipe to remove any oils or fine particulates. Ensure the part is completely dry before placing it on the granite.
For critical measurements, consider a final wipe of both surfaces with a specialized lint-free wipe designed for optical or metrology applications. This extra step virtually guarantees a clean interface, drastically reducing the risk of abrasive damage. This meticulous cleaning is the cornerstone of surface plate protection.
Never use shop rags that have been used for general cleaning or are visibly soiled. These rags often contain embedded grit or metal particles that will immediately scratch the granite. Always keep a supply of clean, dedicated cloths specifically for surface plate and workpiece cleaning, reinforcing good grit control habits.
Managing Chips and Burrs: Quick Deburr Habits That Help
Machining operations inevitably produce chips and burrs, which are extremely hazardous to granite surface plates. These sharp, hard fragments are designed to cut metal, and they will cut granite just as effectively. Developing quick, consistent deburr habits is vital for how to prevent scratches on a granite surface plate.
The most important habit is to deburr parts immediately after machining and before they ever leave the machining area. Do not wait until the part is at the inspection station to address burrs. This prevents chips from spreading to other areas and potentially contaminating the surface plate environment.
Keep a dedicated deburring station near your machining centers, equipped with files, deburring tools, and brushes. Encourage operators to quickly break any sharp edges or remove clinging chips as soon as the part comes off the machine. This proactive step significantly reduces the risk of grit transfer.
Even small, seemingly insignificant burrs can be problematic. A tiny burr on the underside of a part, when pressed against the granite, can concentrate force and act like a chisel. Always run your gloved hand over all contact surfaces to detect any hidden burrs that could cause damage.
For parts with complex geometries or internal features that are difficult to deburr manually, consider using vibratory tumbling or abrasive blasting away from the inspection area. These methods can effectively remove burrs and loose chips, ensuring the part is safe for placement on the surface plate. This is excellent grit control.
Training Others: Simple Rules You Can Post Near the Plate
Even the most diligent individual cannot ensure surface plate protection alone; it requires a collective effort. Training everyone who uses or works near the surface plate is essential for maintaining its accuracy and longevity. Clear, concise rules posted prominently can make a huge difference in how to prevent scratches on a granite surface plate.
Start with a brief, mandatory training session for all new personnel and refresher courses periodically for existing staff. Emphasize the cost of damage and the importance of precision. Explain that the surface plate is a shared resource that must be respected by everyone.
Post a laminated sheet of simple rules directly above or beside the surface plate. Visual aids are often more effective than verbal instructions alone. Make sure the rules are easy to understand and follow, even for someone who is not a metrology expert. This helps reinforce good tool handling on granite.
Here are some examples of rules to post: “Always Clean Both Surfaces Before Contact,” “Lift, Don’t Slide,” “No Chips, No Burrs, No Dirt,” “Report Any Scratches Immediately.” These direct commands leave no room for ambiguity. They serve as a constant reminder of proper grit control.
Encourage a culture of accountability where everyone takes ownership of the plate’s condition. If someone sees a colleague about to make a mistake, they should feel comfortable gently reminding them of the proper procedure. This collective vigilance is the strongest form of surface plate protection you can implement.
What to Do If You Hear a “Grit Scrape” Moment
That sickening “grit scrape” sound is every metrologist’s nightmare. It means a hard particle has likely dug into your granite surface plate. Your immediate actions in that moment can significantly impact the extent of the damage. Panicking or ignoring it will only make things worse.
The very first thing to do is to stop all movement immediately. Do not slide the workpiece or tool any further. Lift the item straight up off the plate to prevent any additional scraping. Every millimeter of movement at this point can deepen or extend the scratch.
Next, carefully inspect the underside of the workpiece or tool that caused the scrape. Look for the offending grit particle; it might still be embedded or clinging to the surface. Isolate and remove it, making sure it does not fall back onto the plate or spread to other areas. This is a critical moment for grit control.
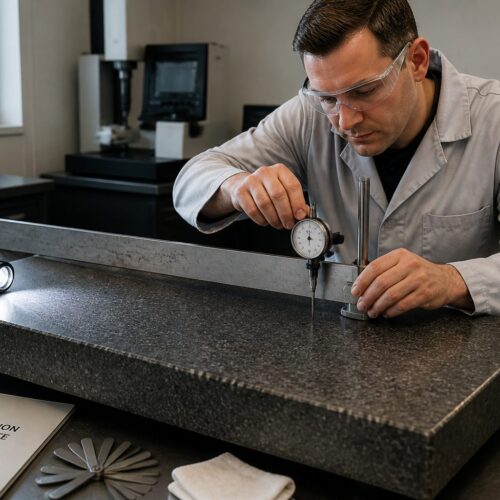
Then, clean the affected area of the surface plate thoroughly with cleaner and a lint-free cloth. Once clean, use a straightedge or a precision indicator to carefully assess the depth and length of the scratch. A light scratch might be superficial, but a deeper one will require professional attention.
Report the incident to your supervisor or the designated metrology lead, even if the damage appears minor. Document the location, approximate size, and what caused the scratch. This information is crucial for tracking wear patterns and determining if re-calibration or re-lapping is necessary, ensuring ongoing surface plate protection.
Long-Term Wear Patterns and How to Reduce Them
Even with the most meticulous care, granite surface plates experience wear over time. This wear is not always immediately visible as a scratch but manifests as localized dips or high spots, compromising the plate’s overall flatness. Understanding these long-term wear patterns is key to proactive surface plate protection.
The most common wear occurs in frequently used areas, typically the center of the plate where most measurements take place. Repeated placement and movement of parts, even when seemingly clean, will gradually abrade the granite. This creates a slightly concave area, leading to measurement inaccuracies.
To mitigate this, try to vary the working area on your surface plate as much as possible. Instead of always using the dead center, distribute your work across the entire usable surface. This spreads out the wear, slowing down the formation of localized depressions and extending the plate’s useful life.
Regular cleaning is not just about preventing acute scratches; it also minimizes cumulative abrasive wear. Dust and fine particles that settle on the plate, if not regularly removed, contribute to a constant, low-level abrasion every time something moves across the surface. Consistent grit control reduces this effect.
Consider implementing a rotation schedule for your surface plates if you have multiple. Periodically moving a heavily used plate to a less critical application, or rotating it with a less used plate, can help manage wear. Regular professional calibration and re-lapping are also essential for maintaining long-term accuracy and addressing accumulated wear.
Conclusion
Your granite surface plate is an invaluable asset in any precision manufacturing or inspection environment. Its unwavering flatness underpins the accuracy of countless measurements, making its care a top priority. Understanding how to prevent scratches on a granite surface plate is not merely a suggestion; it is a fundamental requirement for maintaining metrology integrity.
We have seen that the primary threat comes from microscopic grit and hard particles, which act as tiny cutting tools. Implementing strict grit control measures, such as thorough cleaning of both surfaces before contact, is your strongest defense against this pervasive enemy. Never underestimate the damage a single particle can cause.
Beyond cleanliness, careful tool handling on granite and mindful workpiece placement are crucial. Lifting instead of sliding, deburring parts away from the plate, and using only approved protective aids all contribute to preserving the plate’s pristine condition. Every interaction with the plate demands a deliberate and gentle approach.
Ultimately, effective surface plate protection is a combination of individual diligence and a collective commitment to best practices. Training, clear rules, and a culture of accountability ensure that everyone understands their role in safeguarding this critical piece of equipment. Proactive steps today prevent costly repairs and compromised measurements tomorrow.
By integrating these habits into your daily routine, you are not just protecting a slab of granite; you are upholding the very foundation of your measurement accuracy. A well-maintained surface plate will continue to provide reliable, precise results for many years, justifying the investment in its careful upkeep. Keep your granite plate scratch-free and your measurements true.